
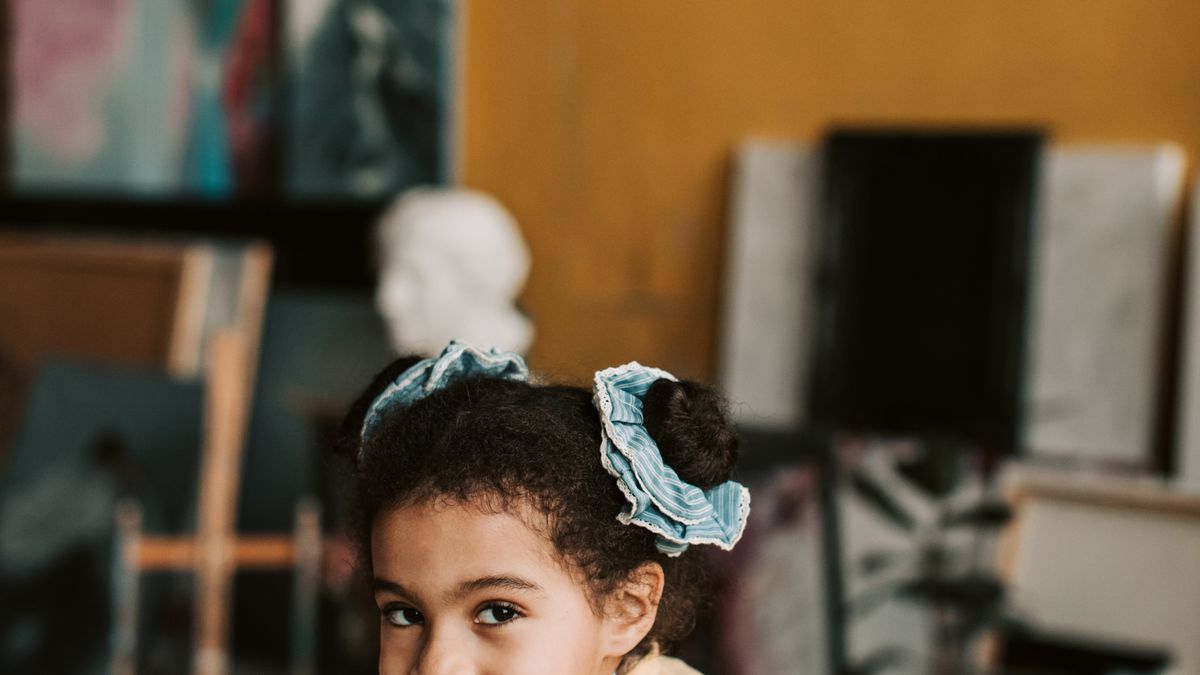
Hand a child a toy that does one thing and they will do that one thing, then wander off. Hand them a box and the thinking starts: what is this today? That moment of deciding — planning, negotiating with a sibling, testing an idea — is where open-ended play earns its keep. There is no correct answer and no finish line, which is precisely why children return to it again and again.
There is a bonus for grown-ups too. Nothing needs assembling, nothing needs batteries, and if the whole thing collapses by teatime you can flatten it and put it out for the kerbside collection without a pang of guilt. The best play material in your house is probably already sitting in the recycling, waiting for bin day.
You do not need to hoard everything. A small, well-chosen stash works far better than a garage full of soggy cardboard. Keep an eye out for:
Leave behind anything greasy or damp, anything that held raw meat, and any plastic film or polystyrene beads, which are a choking risk and a nightmare to clear up.
Keep a shoebox of supplies next to the recycling stash so you are not hunting for tape while your child holds two boxes together and slowly loses the will to live. Into it goes:
Set a clear rule from the start: the grown-up does the deep cuts and the sharp-edge tape, because cardboard cut with a kitchen knife leaves a surprisingly unforgiving edge.
Toddlers mostly want to climb in, climb out and fill things up. Give them a big open box, a few soft toys and a tube to post things down, and stay close by. From around three, the stories arrive and the projects get bigger:
The temptation is to help too much. Try to stay in the role of assistant: hold this, cut that, fetch more tape. When they ask what it should be, turn the question round — "what do you think it could be?" If a boat becomes a spaceship halfway through, that is not a failure, it is the whole point.
Sit on the floor at their level, keep your hands busy rather than taking over, and ask open questions such as "what happens if we make the hole bigger?" or "who lives in there?" Narrate what you see rather than praising the result: "you have made that door really sturdy" tells them more than "well done".
Give every box a quick once-over: shake it out, remove staples, plastic tape and any polystyrene, and cover cut edges with a strip of masking tape. Never let a child put a box over their head unless it has generous breathing holes, and keep plastic wrapping well away from babies and toddlers. Supervise under-threes with small box pieces, bottle tops and anything that fits through a toilet roll tube.
Storage is simple. Flatten the boxes, slide them behind a sofa or down the side of a wardrobe, and keep the making kit on a high shelf. When interest fades, leave the creation standing for a day or two — children often come back with a fresh idea — then take a photo and let it go to the recycling. There will always be another delivery, and another box, and another castle.

Hi, my name is Anthony kuber. I am artist and fashion designer.
I love to travel and writing blogging.
Your email address will not be published. Required fields are marked *
Software Developer & Writer
Hey, I'm Diva, a developer and writer blending code and creativity. I'm driven by a deep curiosity and a relentless pursuit of excellence. Join me as I craft digital solutions and captivating stories.


